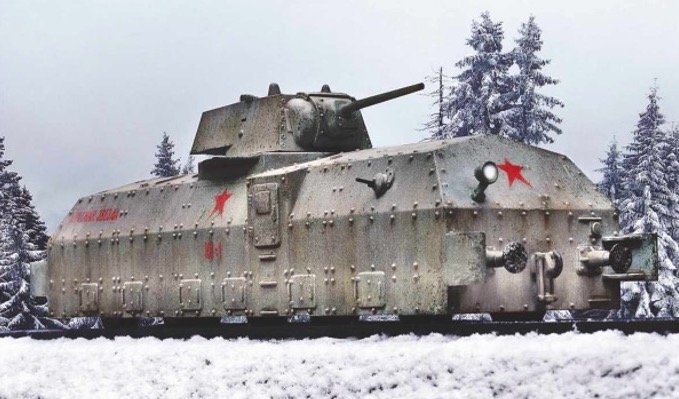
The model set in a winter scene (Courtesy of Photoshop)
Soviet Juggernaut on Rails
HobbyBoss Soviet Draisine ‘Krasnaja Zvezda’ by Mark Bannerman

ABOVE:
HobbyBoss‘s release of a Soviet Draisine ‘Krasnaja Zvezda’
(kit number 82912) in 1/72 scale.
Background
A draisine is a light auxiliary rail wagon equipped to transport crew and material necessary for the maintenance of railway infrastructure. The military usage of draisines were by-and-large armoured and were intended for reconnaissance, scouting, track patrolling and other auxiliary combat tasks. Early types were built in Russia during World War I. Russia was a leader in the development of armoured trains and carried on to mass produce these armoured wagons through the inter-year wars and to the end of WW2.
Ferocious draisine
HobbyBoss recently released a Soviet draisine ‘Krasnaja Zvezda’ (kit number 82912) in 1/72 scale and while I am not entirely certain whether this model is technically a draisine, it is certainly an armoured train car that sports a rather ferocious looking 76mm KV-1 tank turret.
The kit molding is very well done and the model itself is very simple to build. It has very few model lines, no flash
and everything comes on just a few sprues. The model also includes a raised stone base with rails. The base is a nice feature comprising two major components that snap together. The model is a real treat to build with well-designed wheels, crisp nut and bolt detail on the wagon and a superbly designed gun turret with very fine detail and void of any blemishes. This is a model that could be built in an evening or two and surprisingly, the model is quite large at 16cms long and offers up a simple assembly process that would be perfect for the newcomers to the hobby. I built the model in a few evenings and prepared myself for the painting and weathering steps.

ABOVE:
The turret comes in a few parts and builds up nicely with crisps detail without any blemishes or sink marks.
Winter whitewash
This model is unchartered territory for me on two fronts – a 1/72 scale model and an armoured train. This would be my first go at both the scale and subject. On the latter, I would have to depend on the boxart and the colourful pamphlet included in the offering because I was unsuccessful at finding any photographs or reference material on this particular armoured train. There are two choices for finishes – either a winter whitewash or overall Soviet green. For the painting process, I pre-painted the rails and the wheels in semi-gloss black from the Tamiya line.
For the body and the turret, I used a Tamiya mix of XF-58 Olive Green and XF-67 NATO Green. This was applied in two light coats. For the roadbed, I sprayed on AS-22 Dark Earth from the Tamiya line of aerosol canisters. I was less concerned about colour because it was going to be covered with snow eventually. With the model fully cured with the base coat, I then airbrushed two light coats of Tamiya Flat White XF-2. I tend to thin the paint down to about 60-40 paint to water for the whitewash effect. I was aiming for late winter appearance when the whitewash would have been more translucent and more subtle – as opposed to a freshly applied whitewash which would have been more opaque. By applying two thin applications of heavily diluted Tamiya white, it allowed the green base to still show through with a hazy coat of white on the surface. As a small note on winter whitewashes, most winter white washes were applied in the field and usually with brooms, cloth or brushes. The application was not typically airbrushed onto vehicles so it was important to avoid having a smooth and even finish to the model. Some vehicles appear to have a relatively solid application where the underlying base-coat is no longer visible while other vehicles appear to have a light application where the base can be seen quite clearly. Some winter whitewash applications can be just a few sporadic brush strokes applied to the vehicle.
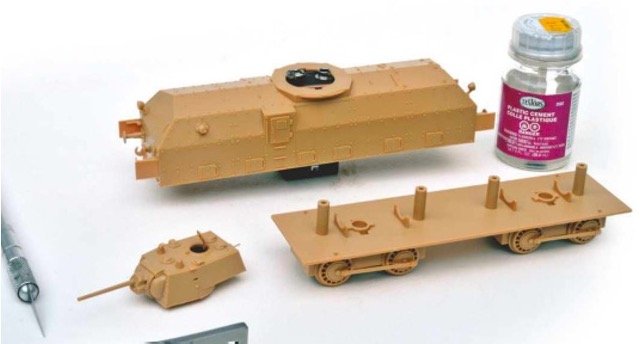
Above:
I built the model in a few evenings in four subassemblies
to be joined together at the end.

Above:
The model is very easy to build with small details already molded onto the surface.

Above:
The base comes in to two parts that snap together.
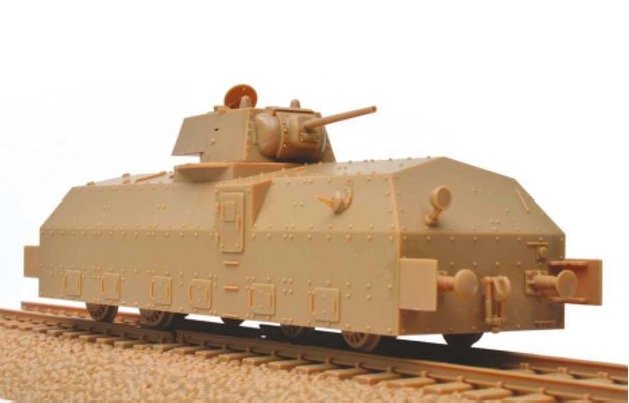
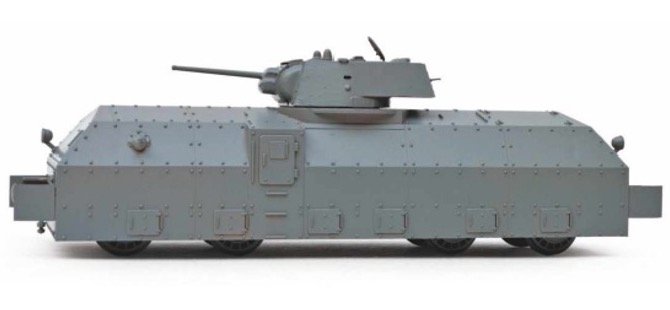
Above:
The model was cleaned up with soap and water then primed in Tamiya grey primer.
Above:
The model completely assembled. The base and rails are only dry fitted at this point.

Above:
The base was applied in two light coats. The undercarriage has not been painted at this point.
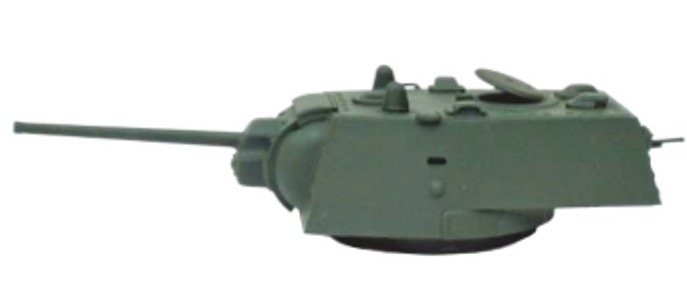
Above:
The turret received same treatment as the armoured wagon with a base coat mix of Olive Green and NATO Green.
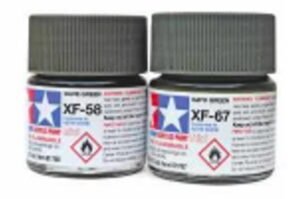
Above:
I used a Tamiya mix of:
-
- XF-58 Olive Green and
- XF-67 NATO Green for the base coat.

Above:
The turret received same treatment as the armoured wagon with a base coat mix of Olive Green and NATO Green.
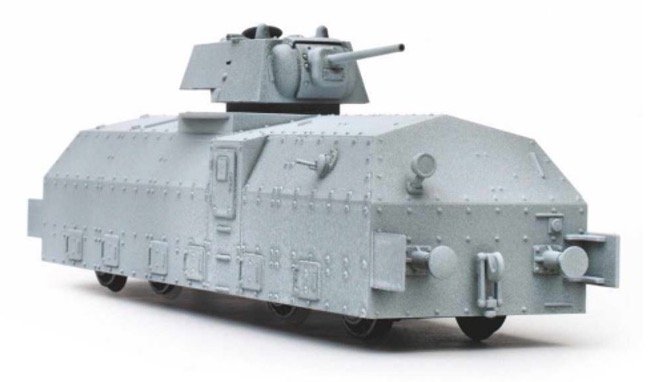
Above:
Note how the green base still shows through in certain areas.
Eliminating uniformity
After going around the vehicle with my airbrush, I was quite satisfied with the approach with some areas heavier than others. The next step was creating the effect of run-off whitewash. Under various extreme temperatures, the whitewash paste used by crews for whitewashing would, particularly under wet conditions, streak and leave a residue on the surface and expose the underlying base colour.
The paste was supposed to be semi-permanent so once it starts to run and streak, it would leave a blotchy residue. To create that effect, I decided to reapply a third application of Flat White to the model in areas where the paste would accumulate in the lower half of the model. Then, with a rounded brush moistened in Tamiya Lacquer (yellow cap), I started the process of lightly and slowly (and carefully!) brushing the surface of the model in a downward vertical motion.
The lacquer is very powerful and loosens up the paint. Some of the white paint adhered to the brush leaving a blotchy effect leaving some of the green base showing through. This was the result I was seeking. I was looking to create
the effect of a relatively old whitewash with some areas fading more quickly than other areas. This really helped eliminate the appearance of uniformity.

Above:
The base was given an overall spray of Tamiya AS-22 Earth Brown – a pre-made mix of paint from an aerosol canister.

Above:
Using a brush moistened in Tamiya Lacquer (yellow cap), I lightly brushed the surface of the model in a downward vertical motion to remove some of the white paint.

Above:
The model set in a scenic winter scene (with the backdrop from my backyard this past winter!) (Courtesy of Photoshop)

Above:
I added some scratches and scuffs using a sponge and a dried up brush with the base green colour.
Emphasising light wear
I moved in with some light drybrushing with Olive Green Winsor Newton oil paint. I placed a small quantity of oil paint on cardboard (to remove excess linseed oil) and about 30 minutes later I started the process of lightly drybrushing some of the green oil paint onto high wear areas such as the top of the hull, top of the turret and along the side of the bonnet. The drybrushing was kept light and subtle and I wanted to emphasize light wear by the crew. I also used a scrubbing sponge with a minute amount of the green base and created small chips. Next, I added some subtle pinwashes using Rembrandt Sepia along all of the edges and panel lines.
This is really a wash but very controlled and applied in specific areas. I recommend spraying the whole model down with Testor’s thinners before doing this to help the pinwash capillary. The mix of paint to thinner should be about 1:4 ratio and applied with a very fine brush.
I skipped doing filters and moved straight for the pastels. The lower part of the model was brushed with various light coloured powdered pastels using earth-colours then a light application was airbrushed of pure Tamiya thinners to fix and seal the pastels into place. I then applied the decals. These worked just great using Walthers SolvaSet decal setting solution. The last step was using Burnt Sienna Rembrandt paint to create some rust streaks.
For the rail base, I applied white glue mixed with water solution using a large brush to all of the gravel parts and then sprinkled MicroBalloons from SIG through a sieve o even out the snow on the surface of the base. I painted the rails in black then drybrushed these in a mix of Humbrol black and silver to create the effect of well-worn rails. Last touches include painting the machine guns black and drybrusing with a very small amount of Tamiya silver pen and adding a few more streaks of rust from bolts and nuts.
This was a trouble free model and while this was my first attempt at this scale, I found it extremely enjoyable – and quick! I did have to change my painting and weathering approach as the model is considerably smaller than my usual 1/35 subjects so it meant more restraint, minimizing the amount of paint in well-worn rails.
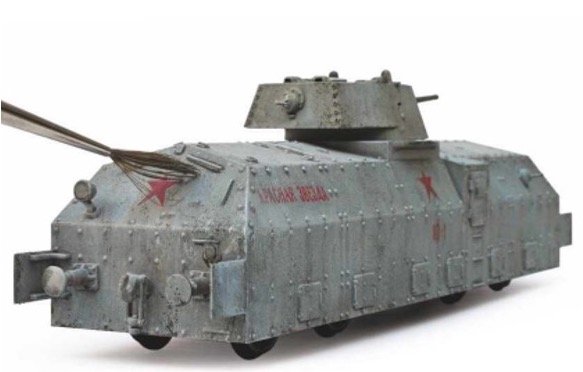
Above:
Using an old brush moistened in Tamiya lacquer, I poked the surface to create more chips and dents.
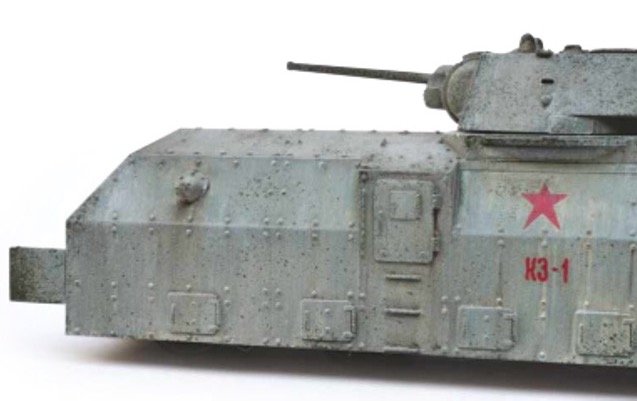
Above:
I applied some subtle dry-brushing with Olive Green Winsor Newton oil paint and added some subtle pin-washes using Rembrandt Sepia along all of the edges and panel lines.

Above:
The armoured car in a winter Russian scene (Courtesy of Photoshop)

Above:
The model is very small so keeping chips and dent effects very small and restrained is key.
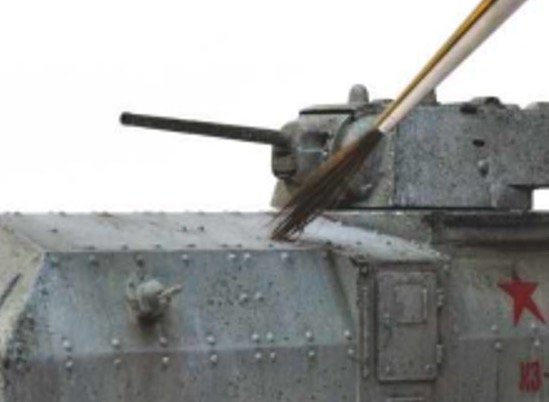
Above:
I used Burnt Sienna Rembrandt paint to create streaks.
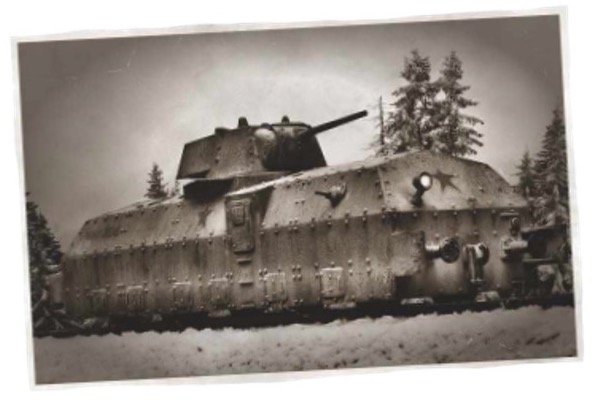
Above:
The model set in a wartime quality photograph (Courtesy of Photoshop)
Last touches include painting the machine guns black and dry-brusing with a very small amount of Tamiya silver pen and adding a few more streaks of rust from bolts and nuts. This was a trouble free model and while this was my first attempt at this scale, I found it extremely enjoyable – and quick!
I did have to change my painting and weathering approach as the model is considerably smaller than my usual 1/35 subjects so it meant more restraint, minimizing the amount of paint in thinner washes, and making streaks narrower and restrained to avoid it looking overdone.
Fortunately, all of the weathering techniques mentioned can be reversed and corrected. Overall, I am very impressed with this model and I salute HobbyBoss for a superb model that may have propelled me to look at doing another 1/72 model in the near future. My thanks to Martyn Chorlton for sending me the model and opening my eyes to an interesting subject of an unusual nature!
Right:
Some of the products I used:
-
- MicroBallons to create snow,
- Walthers decal setting solution,
- Tamiya Lacquer for the whitewash effect,
- Regular white glue to adhere the snow to the base and
- Tamiya Earth Brown for the gravel base colour.

By kind permission of Mark Bannerman and Doolittle Media. Originally published in Military Modelling


